
Porcelain veneers
Ultra-thin IPS e.max lithium disilicate veneers for anterior smile transformations. From 0.3 mm minimal-prep veneers to comprehensive smile makeovers — fabricated with precise shade mapping and incisal translucency matched to natural dentition.
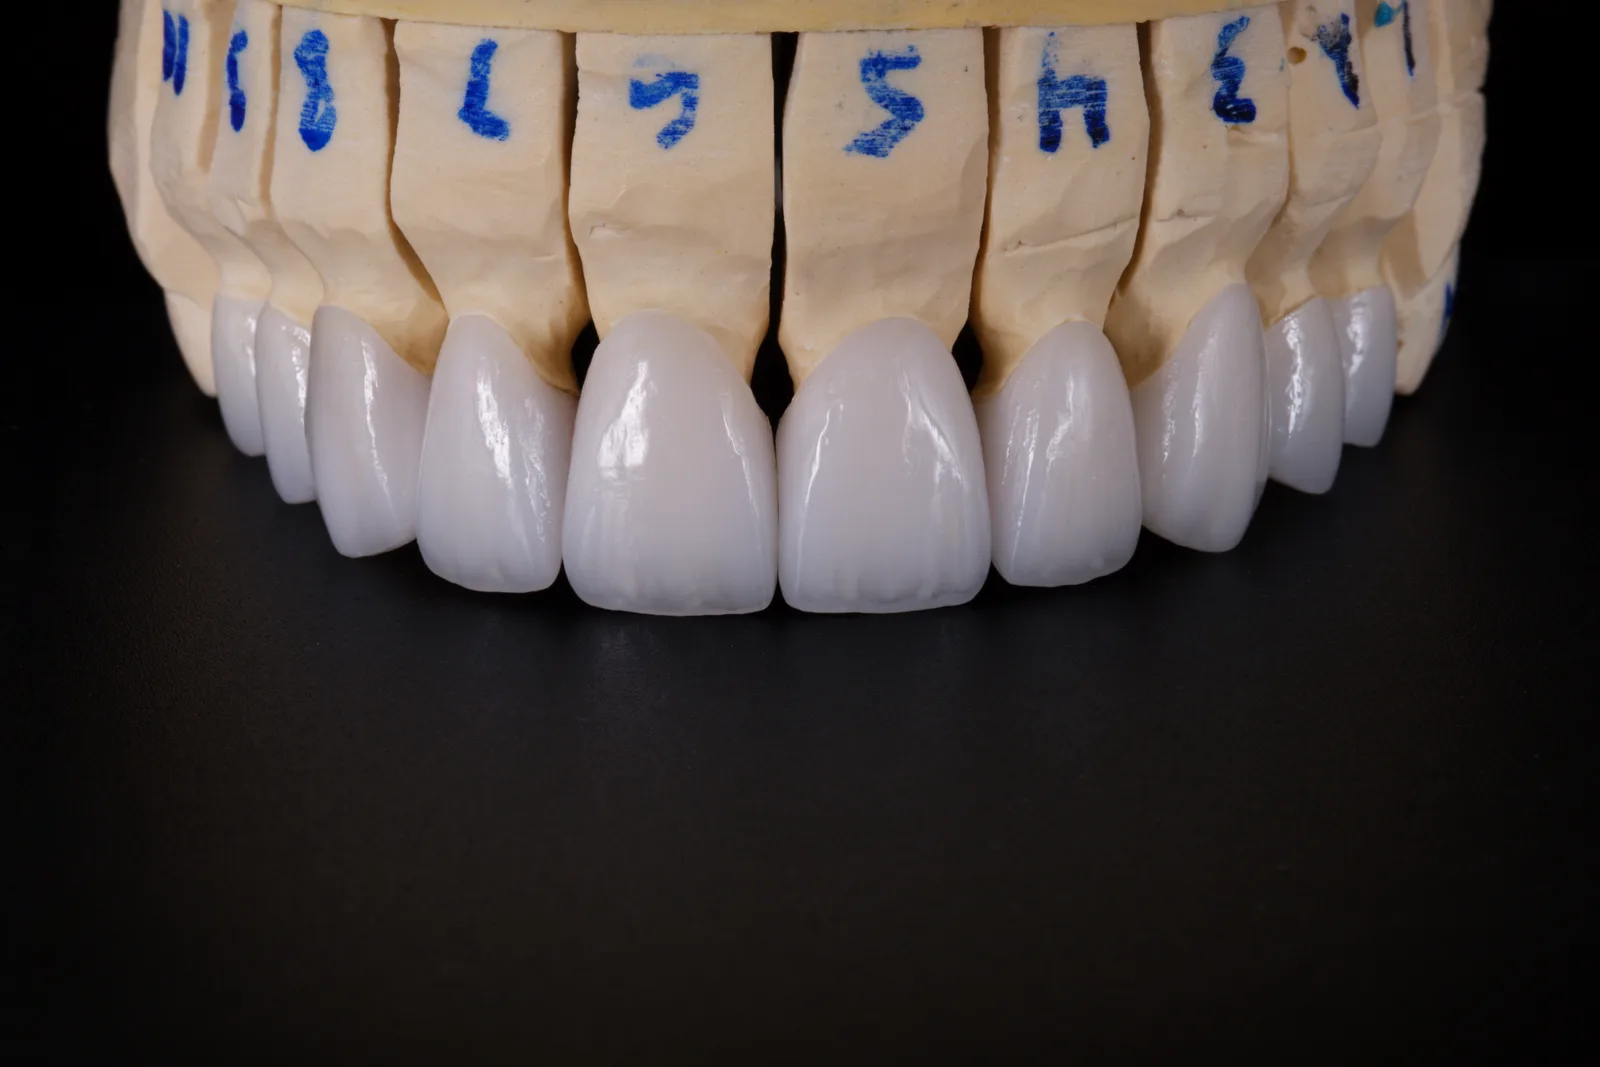
Thin by design. Lifelike by craft.
Veneer fabrication is where the art of dental ceramics is most visible. At 0.3–0.8 mm, there is no margin for error in shade, translucency, or surface texture. Our ceramists treat every veneer case as a smile design exercise — studying the patient's photos, natural teeth, and gingival architecture before placing a single brush stroke.
Every veneer is pressed from IPS e.max lithium disilicate — stronger and more predictable than traditional feldspathic, while still achieving the layered incisal character of a hand-built restoration. We recommend a diagnostic wax-up for all cases of 4+ units to align expectations before impressions are taken.
Related services
Diagnostic Wax-Up
Visualize the full smile design before a single tooth is prepped. Essential for veneer cases.
→IPS e.max Crown
Full-coverage lithium disilicate for teeth requiring more than veneers can provide.
→Provisionals
Milled PMMA provisionals for the healing phase or smile trial before final veneers.
Porcelain veneer FAQ
Common questions from referring dentists about our IPS e.max veneers and smile-design workflow.
What material do you use for veneers?
Every veneer is pressed from IPS e.max lithium disilicate — stronger and more predictable than traditional feldspathic porcelain, while still achieving the layered incisal character of a hand-built restoration. For maximum depth we also offer a cut-back and layered e.max build.
Do you offer no-prep or minimal-prep veneers?
Yes — minimal-prep and no-prep veneers from 0.3–0.4 mm for cases like diastema closure and shape correction. Most cases fall in the 0.3–0.8 mm range. Send photos and we'll advise whether a no-prep approach will meet the esthetic goal.
Should I start with a diagnostic wax-up?
We recommend a diagnostic wax-up for all cases of four or more units to align expectations before any tooth is prepped. It converts to a printed trial-smile mock-up for chairside try-in, so the patient approves the design before impressions are taken.
How do you match shade and translucency?
We treat every veneer as a smile-design exercise — studying the patient's photos, adjacent natural teeth, and gingival architecture before placing a brush stroke. Detailed shade photos, plus a stump (prep) shade for thin veneers, are the single biggest factor in a seamless match; include them with the case.
What do you need to start a veneer case?
Prepped or unprepped impressions or an intraoral scan, a shade prescription with photos, and — for larger cases — an approved diagnostic wax-up. We're set up for either a wax-up-first workflow or direct prepped impressions. Upload scans through our digital case upload form, or call us to schedule a pickup and we'll send a FedEx label.